How did I get here?
If you're wondering why you landed here...
Meaning of Life Designs has a new home!
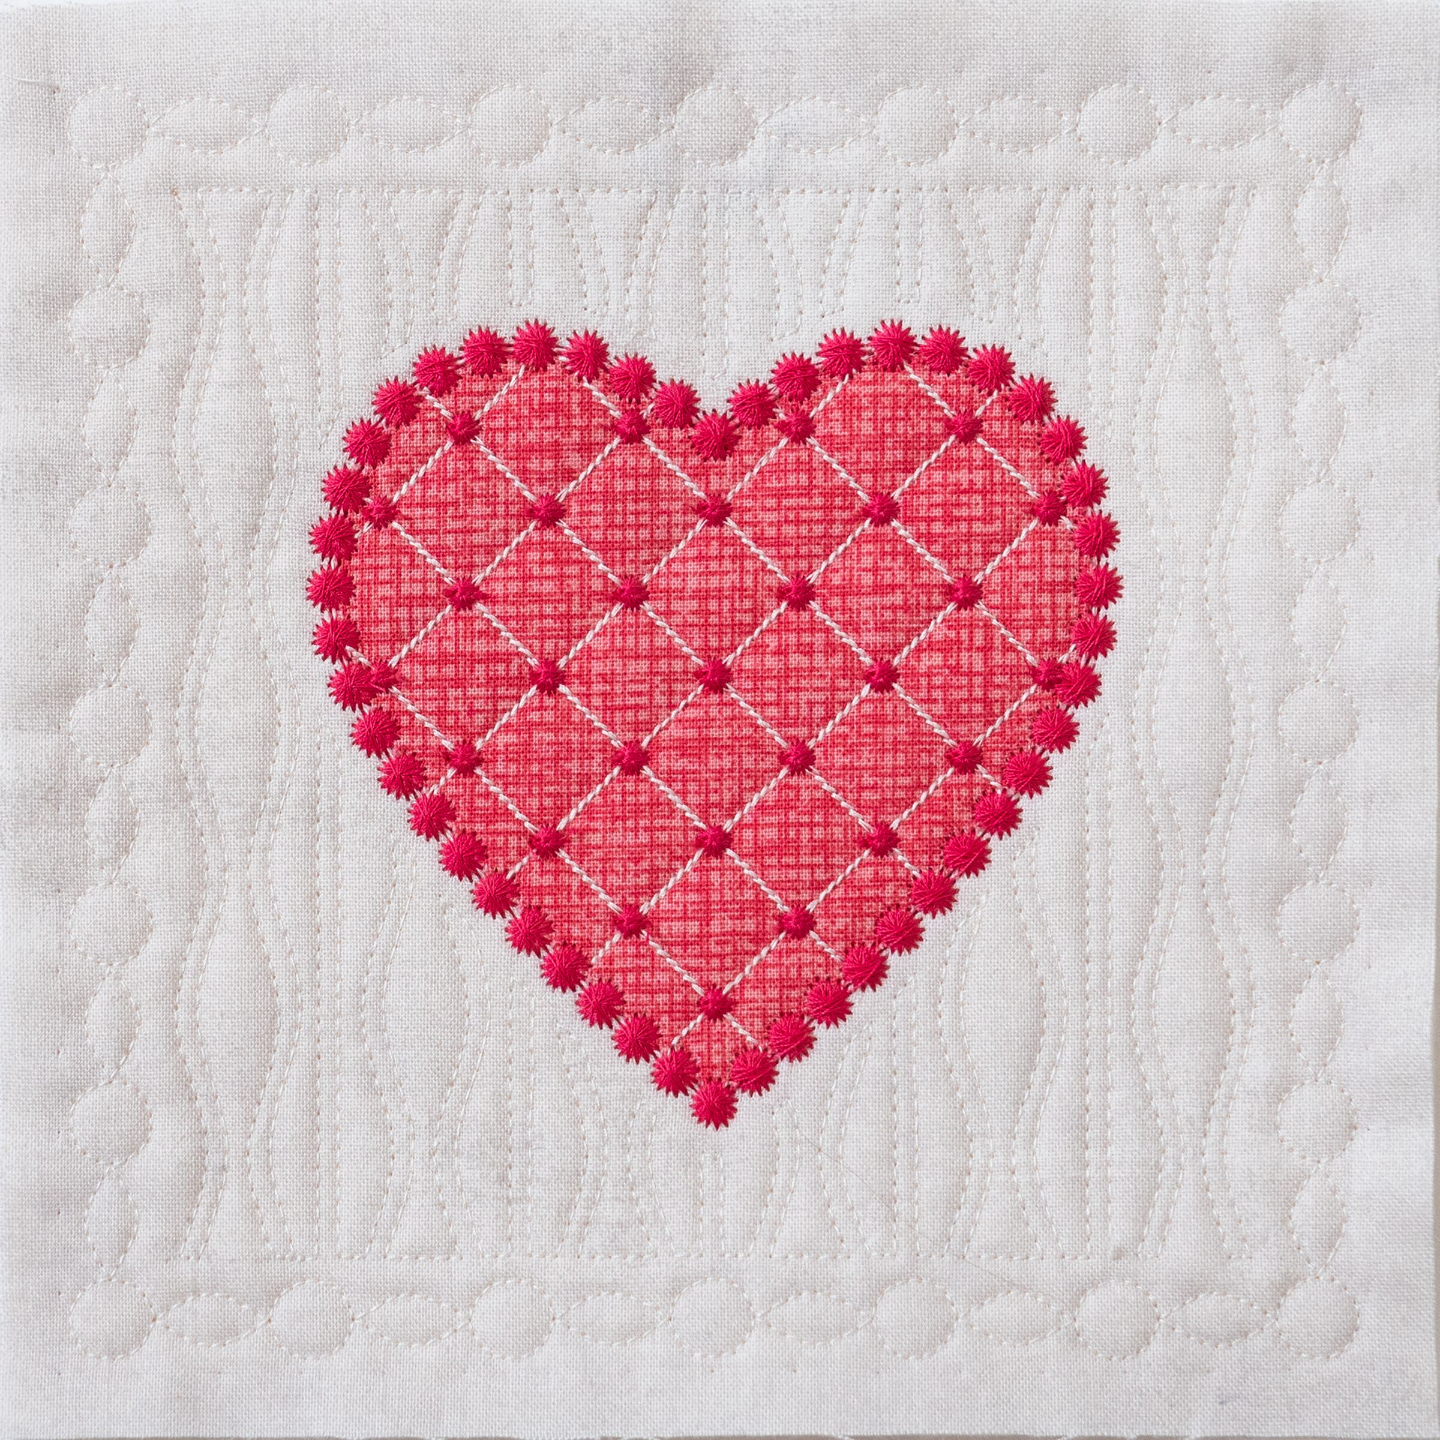
As what you were looking for has moved, we'd like to give you a special gift for your patience. Please take advantage of the free design below!
If you have a question and would like to reach us, please click here.
If you are looking for a design collection, please click here.
If you arrived here because you are trying to redeem a digital code for a purchase, please click here to contact us.
Request your copy of this FREE machine embroidery appliqué design today!